When Laura in Boise found her tomato seedlings wilting on hot afternoons despite daily hand-watering, she realized she needed a more consistent approach. Her raised beds are narrow, her water pressure is modest, and she sometimes forgets evening watering after work. A tailored drip system solved that precise mix of problems — delivering steady root-zone moisture, conserving water, and freeing her evenings.
Match the drip kit layout to the garden’s shape and planting style
Problem: Many gardeners buy a “one-size-fits-all” drip kit only to find tubing snags on bed edges, emitters sit at the surface, or lines cross paths and tangle when things get full. That’s frustrating and leads to uneven watering.
Solution: Design the layout before you buy. Start with a simple sketch showing bed dimensions, plant spacing, and the water source. Use the sketch to decide between mainline tubing (1/2" or 5/8") and smaller 1/4" laterals.
Layout rules of thumb
- For narrow raised beds (3–4 ft wide): run a single 1/2" main down the center and attach 1/4" laterals to each plant row. This keeps lines tidy and emitters near roots.
- For wide beds or multiple rows: use two parallel mains with laterals bridging; spacing mains 18–24" apart covers most root zones.
- For mixed plantings or staggered spacing: use adjustable inline emitters (4–20 GPH) so each plant gets the right flow without adding new lines for each plant.
Example: A 4' x 12' raised bed with three staggered rows of peppers and carrots does well with a center 1/2" main and 1/4" laterals every 12" feeding 1 GPH button emitters. That setup uses roughly 100–200 gallons a month less than overhead watering for the same vegetables in summer.
Pick emitter types and spacing for the crop, not the kit’s convenience
Problem: Kits often include a random assortment of emitters that aren’t ideal. Too much flow for seedlings; too little for heavy-feeding tomatoes. The result: wet foliage, root rot, or stunted plants.
Solution: Match emitter output (measured in GPH — gallons per hour) and spacing to the plant’s water needs. Use higher-flow dripline or multiple emitters for thirsty crops; use low-flow micro-sprayers or 0.5–1 GPH outlets for herbs and seedlings.
Practical emitter guide
Crop TypeTypical Emitter GPHSpacingLeafy greens, herbs0.5–1 GPH8–12"Peppers, eggplant1–2 GPH (or two 1 GPH)12–18"Tomatoes, squash2–4 GPH or inline dripline12–18" per plant
Concrete example: On a small plot of four indeterminate tomatoes, many gardeners use 2–3 emitters per plant at 2 GPH each (total 4–6 GPH) placed 6–8" from the stem. That ensures roots in a wider zone are watered without saturating the crown.
Control pressure and filter to prevent clogging — the often-missed step
Problem: Clogged emitters are the most common reason drip lines fail. Gardeners assume emitters will stay clear, but particulates and mineral buildup quickly reduce or block flow.
Solution: Install a pressure regulator and a filter at the faucet or faucet-to-timer connection. Most drip components work best at 15–25 PSI; garden hoses often deliver 40–60 PSI or higher. High pressure can blow fittings and force sediment into tiny emitter holes.
- Use a 25 PSI regulator for most kits; for inline dripline rated low pressure, pick a regulator closer to 10–15 PSI.
- Fit a 150–200 mesh filter on city water, and consider a 120 mesh or finer if your water is hard or you use well water with fine sand.
- Flush new systems for 30–60 seconds after installation to clear debris from factory-cut tubing.
Example: A gardener in Phoenix installed a new kit without a filter and lost 40% of emitters to mineral build-up within two months. After adding a 150-mesh filter and periodic backflushes, clogging dropped to near zero and maintenance time fell from weekly to monthly.
Connect automation and scheduling to plant needs — smarter than a fixed timer
Problem: Fixed daily schedules don’t reflect weather changes or soil moisture. Too often, gardeners either overwater on cool days or under-water during heat waves.
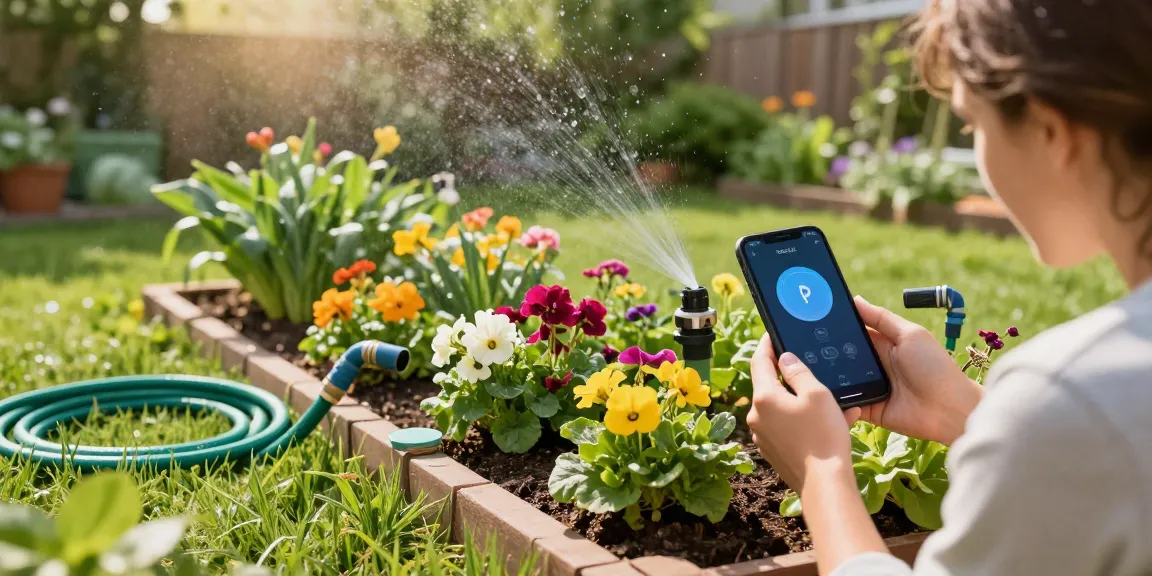
Solution: Use a WiFi-enabled timer or a smart controller to run short, frequent cycles that match crop stage and soil type. For example, seedlings need more frequent shallow waterings; established tomatoes need deeper, less-frequent soakings. A WiFi timer such as the RainPoint model lets you adjust schedules remotely and shift timing after rain or heat spikes.
Starter schedules (modify to your soil)
StageRun FrequencyCycle ExampleSeedlingsDaily to every-other-day3 cycles x 5–8 min each (prevents runoff)Establishing plants (2–6 weeks)Every 2–3 days2 cycles x 10–20 minMature crops2–3 times/week1–2 cycles x 20–45 min (deeper soak)
Concrete figure: According to the EPA’s WaterSense program, smart irrigation controllers can save homeowners about 8%–15% on outdoor water use compared with conventional timers; in some climates that translates to thousands of gallons per season (source: EPA WaterSense) EPA WaterSense.
If you want a single-shopping solution tailored to vegetable beds, you can get a complete drip irrigation kit for vegetable gardens that bundles mains, laterals, emitters, fittings, and often a timer port — saving planning time and ensuring component compatibility.
Maintenance tips and seasonal tuning to keep yields high
Problem: People install a kit and then ignore it until harvest time. Small leaks, kinked tubing, or a single clogged emitter can reduce yields or stress plants at critical moments.
Solution: A short monthly checklist prevents problems: visually inspect lines, feel soil moisture near root zones, run a system flush at the season’s start and midseason, and replace cheap stakes that break. Mark valves and shut-offs so winterizing is quick.
- Monthly: walk the beds while the system runs and note low or missing drips. Replace or clean emitters as needed.
- Every planting: rotate emitter positions for new rows so older mineral deposits don’t line up with new root zones.
- End of season: flush, drain, and store removable components if winter freezes are likely.
Real example: A small urban gardener tracked soil moisture with a $15 tensiometer next to a bell pepper row and adjusted run times down 20% when the soil held more moisture after mulching. The peppers produced more fruit with fewer blossom-end rot problems.
For gardeners who want an easy way to pair a timer, filter, and crop-appropriate emitters, a WiFi timer from RainPoint can handle that schedule automatically and let you tweak runs from your phone when a heat wave hits.